
What makes someone, decide they don’t want to have spare money, free time or a happy wife? Well for me, its simple, it’s a passion. The drive to make something your own, enjoy it with friends and give you a break from reality. Like many, I work too much, have too high bills, and look for that escape and locking myself in the garage with a project allows me to do this.
I have always been a Honda fan previously owning; Civic EK, Civic EG, Integra DC5 and Honda Prelude. My current daily is even a Red FN2 Type R. I’ve tried to move away as I’ve got older to Audi’s, Lexus etc but i always end up back in a Honda, its a drug and you couldn’t make me go to rehab if you paid me.
I’m not a social media kind of guy, so this is mostly going to be used to allow me to track my own progress, too many times I have built a project and loose track of pictures, so I wanted something more formal, as I owned this domain already, why not?
Step 1, Find a chassis.
I knew, after selling my B swapped EG, I wanted another one, the prices are starting to get out of control and I thought now or never. I hunted eBay, Facebook and found this.. It was the other end of the country to me (UK) but I decided to have a look with the goal of bringing it home.
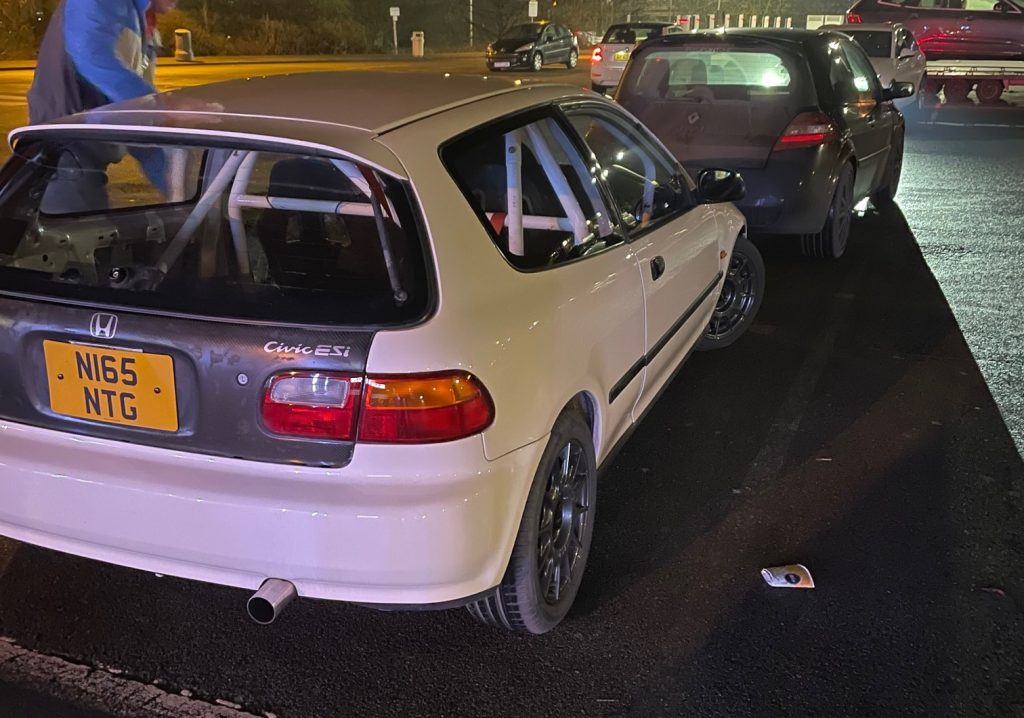
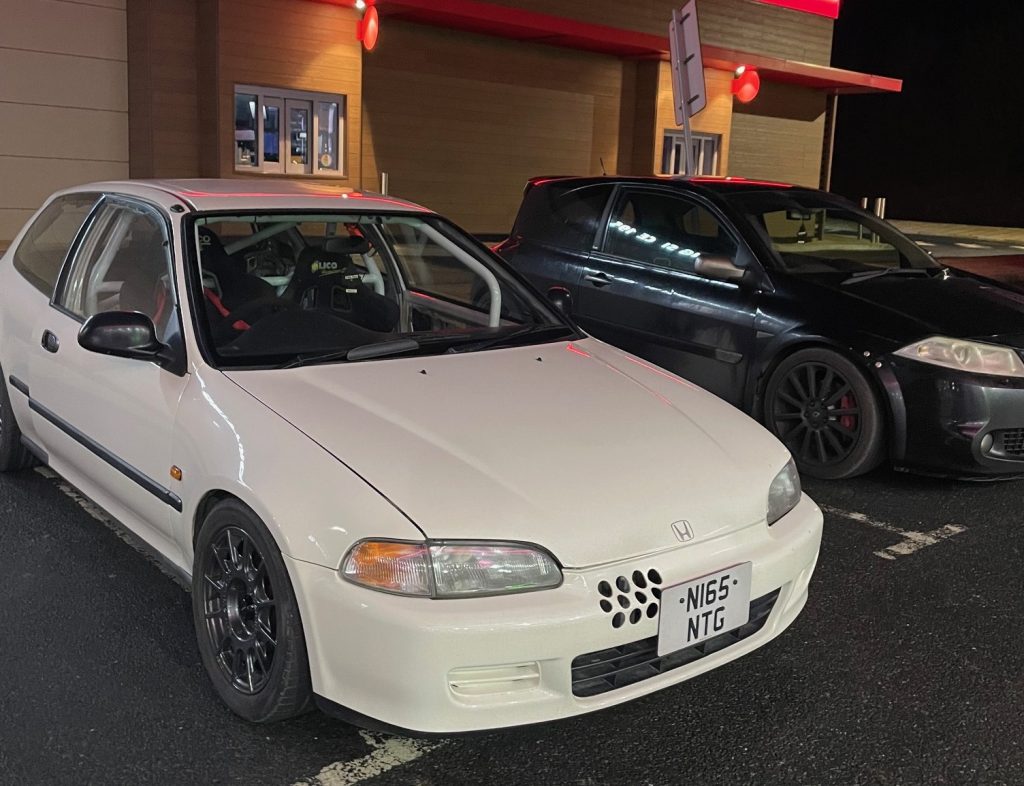
After hours of sitting in motorway traffic, we arrived to view the car it was dark but luckily, owning these previously i knew of most of the troublesome areas. The guy stated it had been recently painted and whilst that appeared correct, seeing rust under the paint on the bottom didn’t fill me with confidence. Upon reviewing the rear arches (inside and out) it was clear it had some welding done, but not to a high standard. The car however did have a few nice bits, carbon boot, carbon sunroof bung, bolt in dash dodger cage and some Team Dynamic wheels. After pointing out the rust and other issues not highlighted in advert, we knocked the price down and off we went.
Step 1.5, Discovering issues.
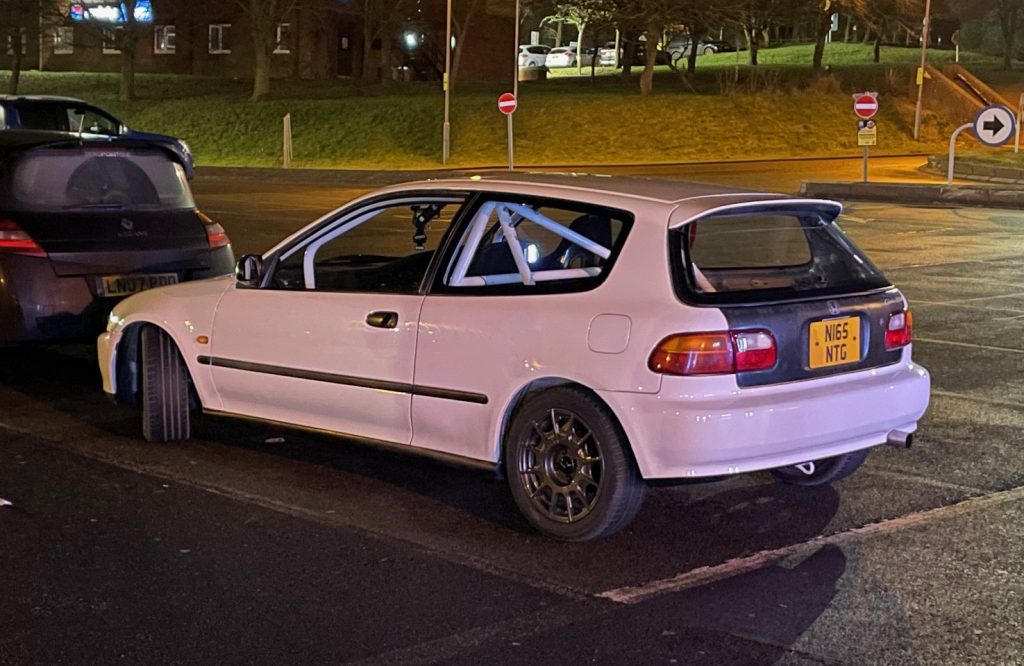
Whilst driving home, much to mine and my friends surprise it didn’t have any issue making the 6 Hour trip. The drive did enable me to find some oddities. The rear number plate lights were in the boot, blinding me every time I used my rear view mirror. The passenger seat was cable tied to roll cage, something I wish I knew before the previous owner took me for a test drive. The window glass was held up with 2×2 wood, screwed through the door. The brakes didn’t really work, the whole car lacked the planted feel and most of all I’m getting to old to climb over door bars. Even with all these issues, I drove home happy and smiling.
The next day, now in Daylight i could see what I’d brought, the rust was worse, the repairs were worse but for the price I paid I didn’t mind. It was always going to be a multi-year ground up rebuild. The car sat on my drive for a few weeks, as i was in the process of moving house and didn’t want to start pulling it apart until it had a garage to live in. During these short few weeks, rust started to appear in the rear arches, blistering the paint, water gathered in the boot floor just confirming my assumptions the previous owners spent some good money on expensive bolt-ons, but just messed up on the basics.
Step 2, Plan of Attack
My last EG I built as a drag car, this has some issues mostly legal ones, so i decided i wanted a more track / fast street focused car, that can remain road legal. Scare the pants off any passengers and keep me smiling. I’m sure as this project goes on, it will change direction and compromise in many areas will happen. The first goal is to fix the chassis & body work. As it stands I will go K Series, standalone ECU, standalone PDM and presentable but not over the top tucked and clean appearance. I want to keep heaters, and a radio. As long as it can pass an MOT the rest is not required. Long term, I’d like to go AWD and Turbo, but lets get it usable first and as I said this will not be a quick process due to budget, family/work life. So lets begin..
Step 3, Start the rebuild
The Engine Bay
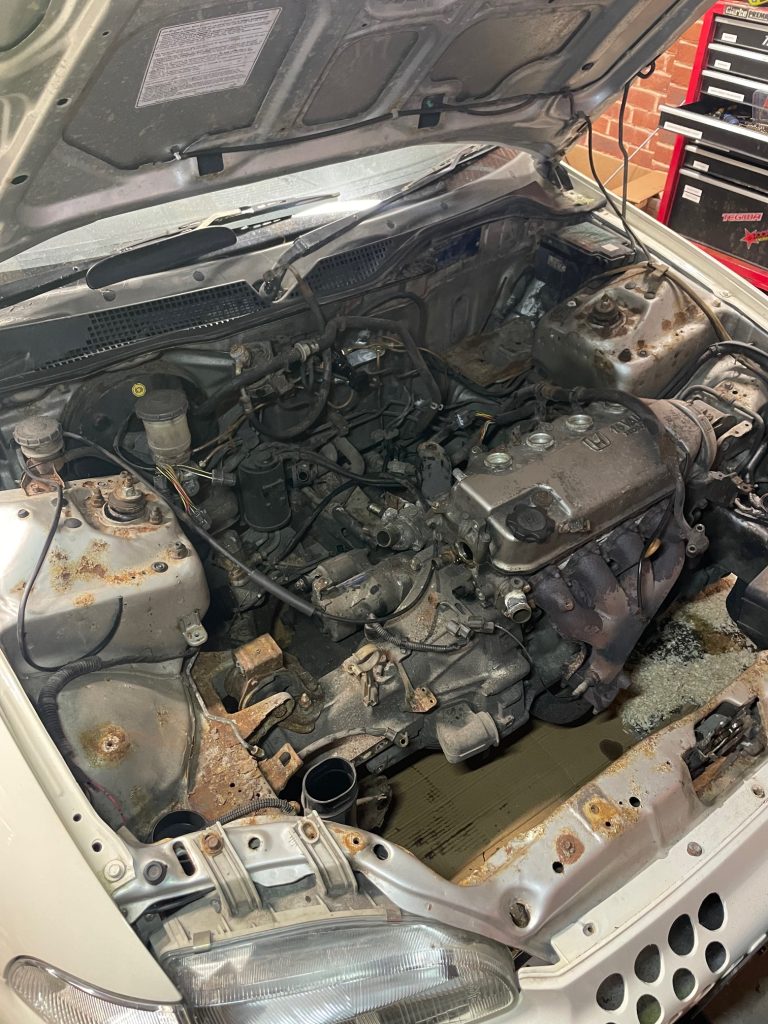
The car came with a D15, and a non-repainted very rusty engine bay. Now I’ve moved house, this was my first job to tackle. I typically get an hour or two in the evenings to work on this project, so it took a few days to see progress. First thing was to get the engine out.
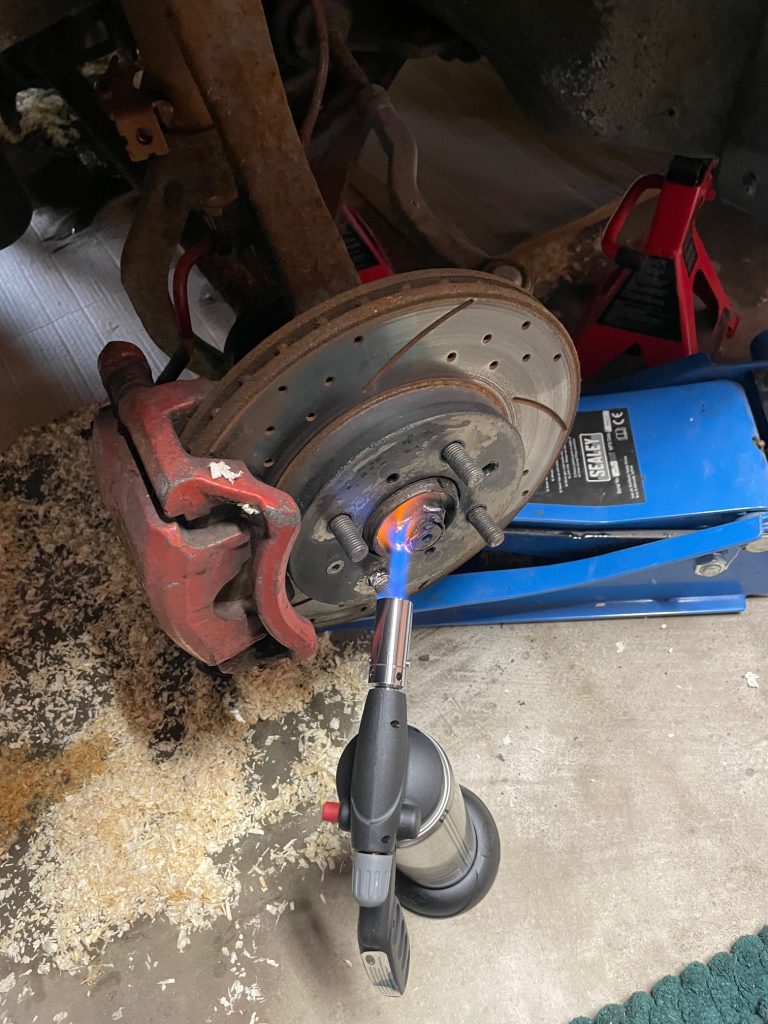
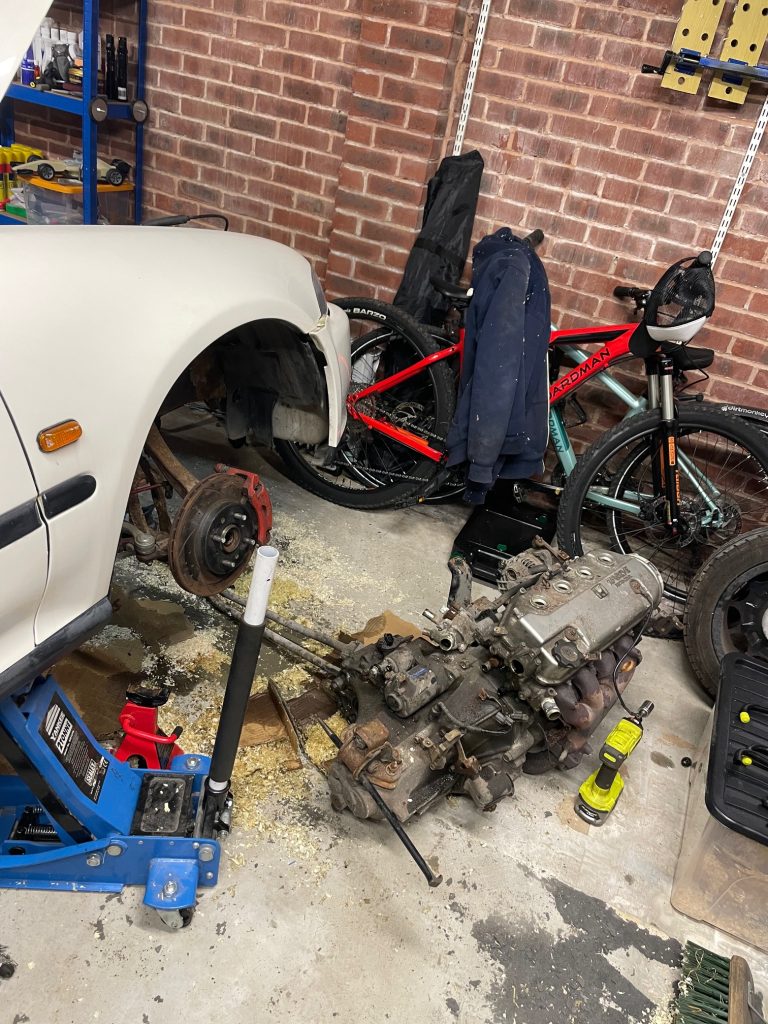
Luckily removing these engines are fairly simple, it took a few hours over a couple of evenings before it was out and ready for the scrap man. It was slight pain no longer own an engine crane, but nothing compared to the drive shaft nut which had been reused, and was folded over in 3 places. Not even a 6 foot bar could get it to move, but as the saying goes “you can’t be tight if you’re liquid” so out came some heat and it finally came loose.
Now the engine was out the way, I continued to remove everything else to try and get back to an empty engine bay, ready to start attacking it with every wire brush / wheel I own
Whilst it most defiantly is rusty, the vast majority is just surface and a test area proved it cleaned up really well. I discovered some poor wiring, and an engine bay screaming for a clean, treatment and a fresh coat of paint.
1st October 2025
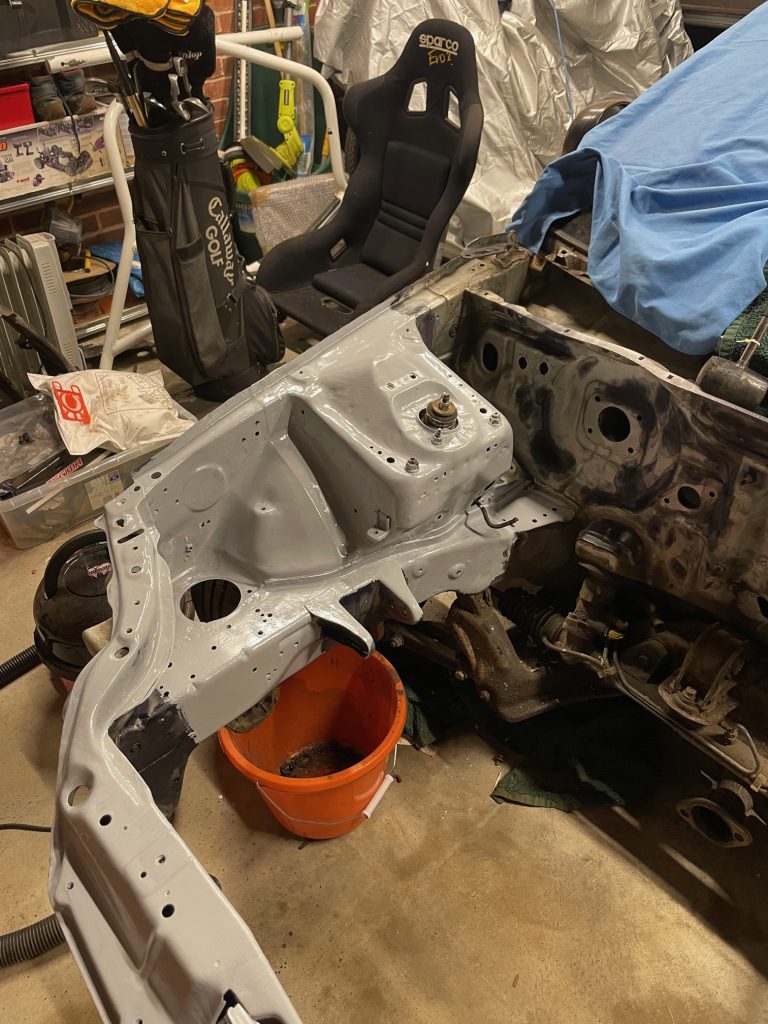
Next up, wire brushing to clean back all the surface rust before treating, a combination of drills and angel grinders made light, albeit messy work of the worst of it. It was extremely satisfying to see it start to return from the crusty orange mess I’d been staring at for the week prior. Although at this point it was finished, the pictures below show a striking difference abit of clean up can make.
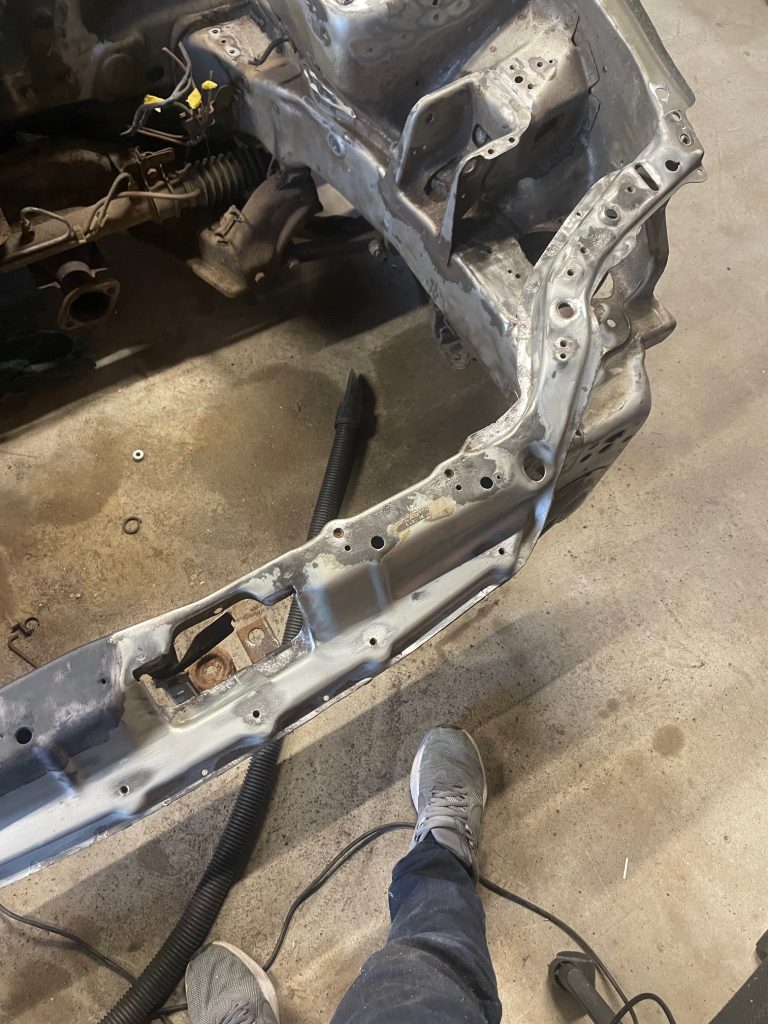
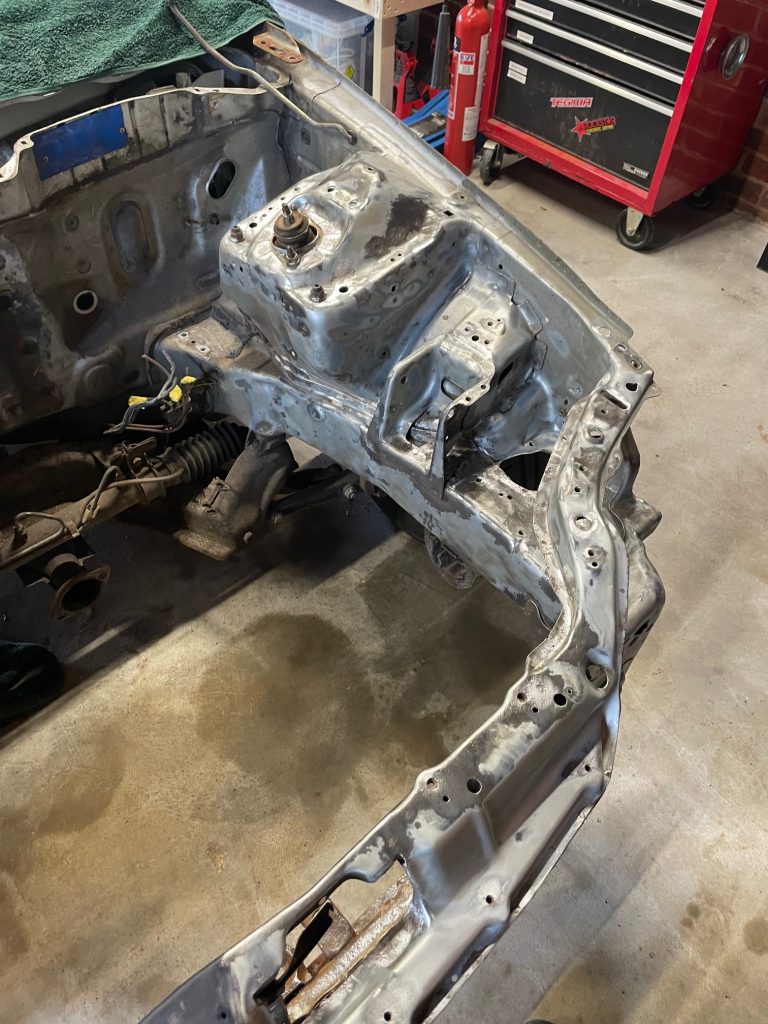
I continued to find, numerous areas that were hidden depending how I was standing laying etc, so once I was happy i swept the mountain of dust and flaky paint into the bin, and got ready to treat the areas. I used Hydrate-80 as my rust treatment of choice, I pretty much just ended up applying it to the whole engine bay at this point to ensure I didn’t miss anything, it had 2 coats 24 hours apart.
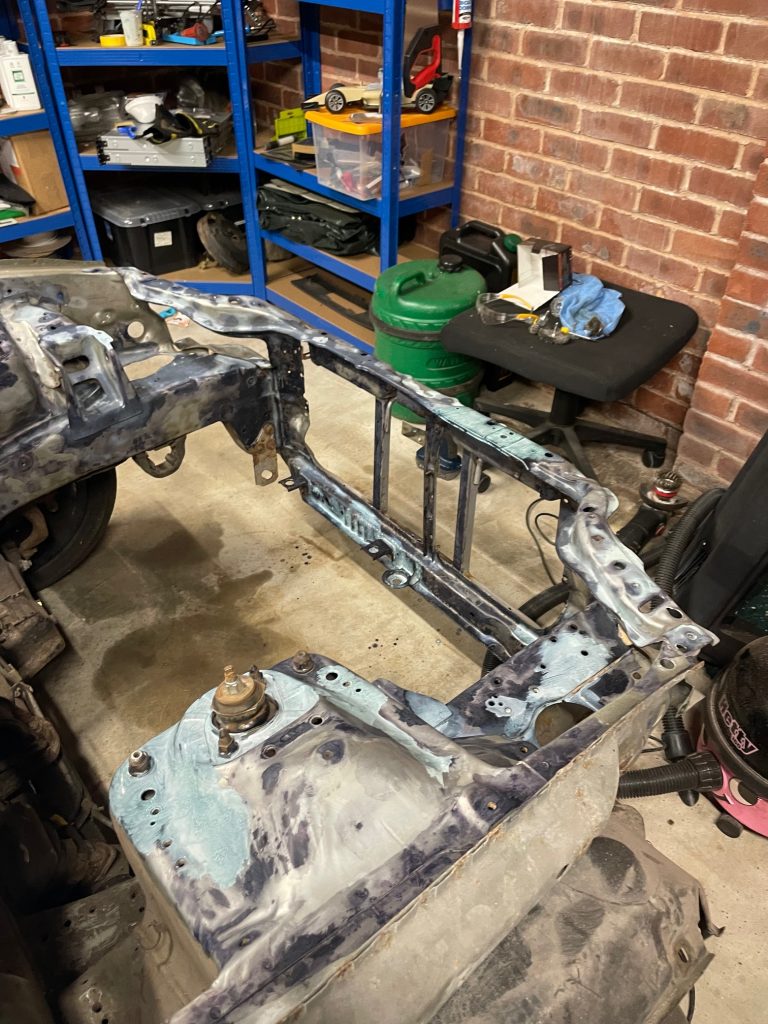
The aim for me currently is to salvage the shell before getting distracted by shiny toys and performance parts, despite the massive urge to-do so. Ultimately the engine bay will be tucked, mildly smoothed and painted but for now, get it sealed up and in primer and move on, allowing time for any rust to redevelop and allowing me to attack the smaller sections again if required before making it look pretty. This brings me on to primer, after research I used Nova 2k Primer, it got brushed on, have 2 coats total. A lot of this will get ground back down when I start plugging holes, removing old mounts etc but for now its one colour and is keeping further corrosion at bay.
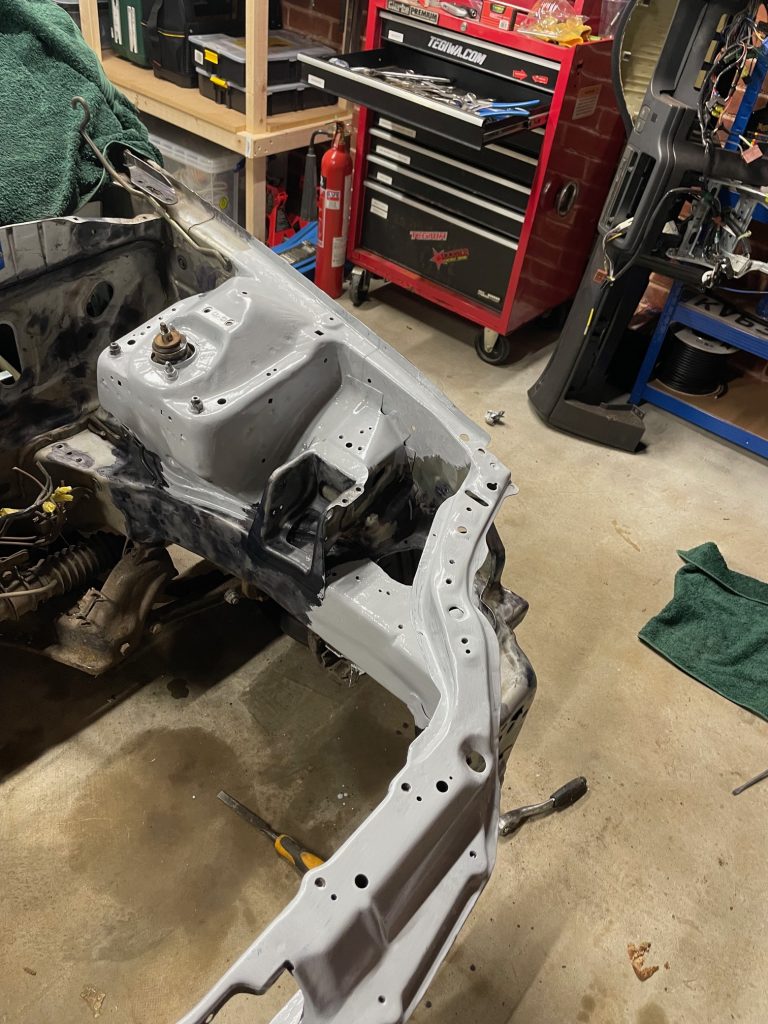
I still need to drop the subframe, remove some brackets but the difference from how i collected it to now are massive. The engine bay is far from complete but is moving in the right direction.
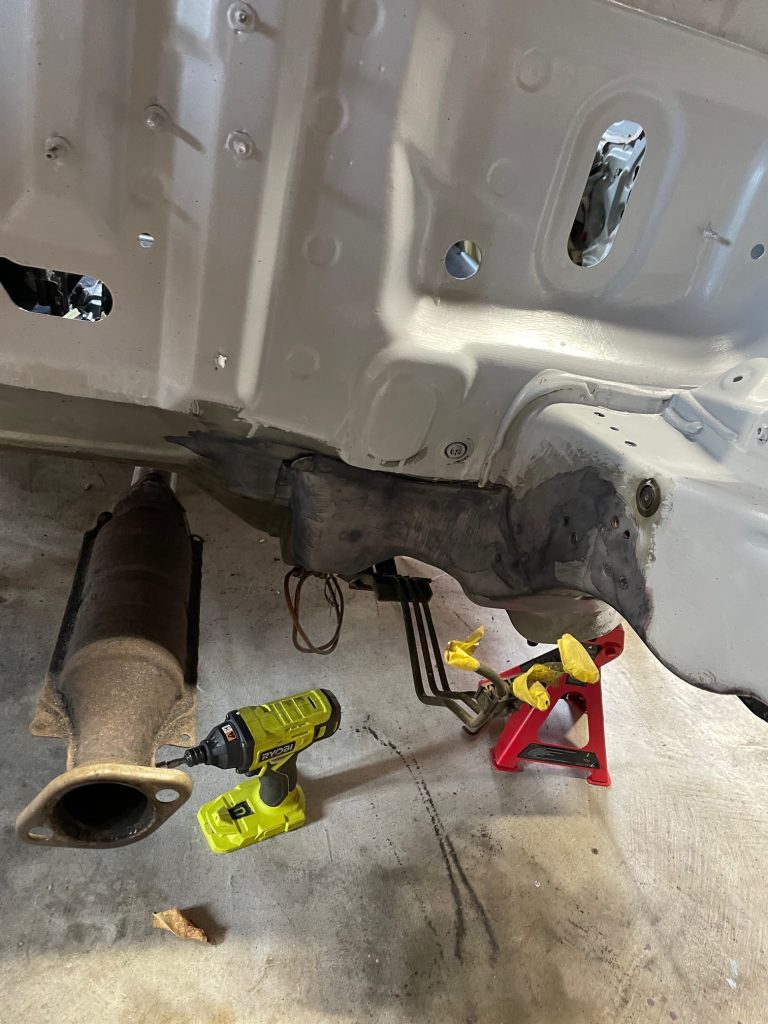
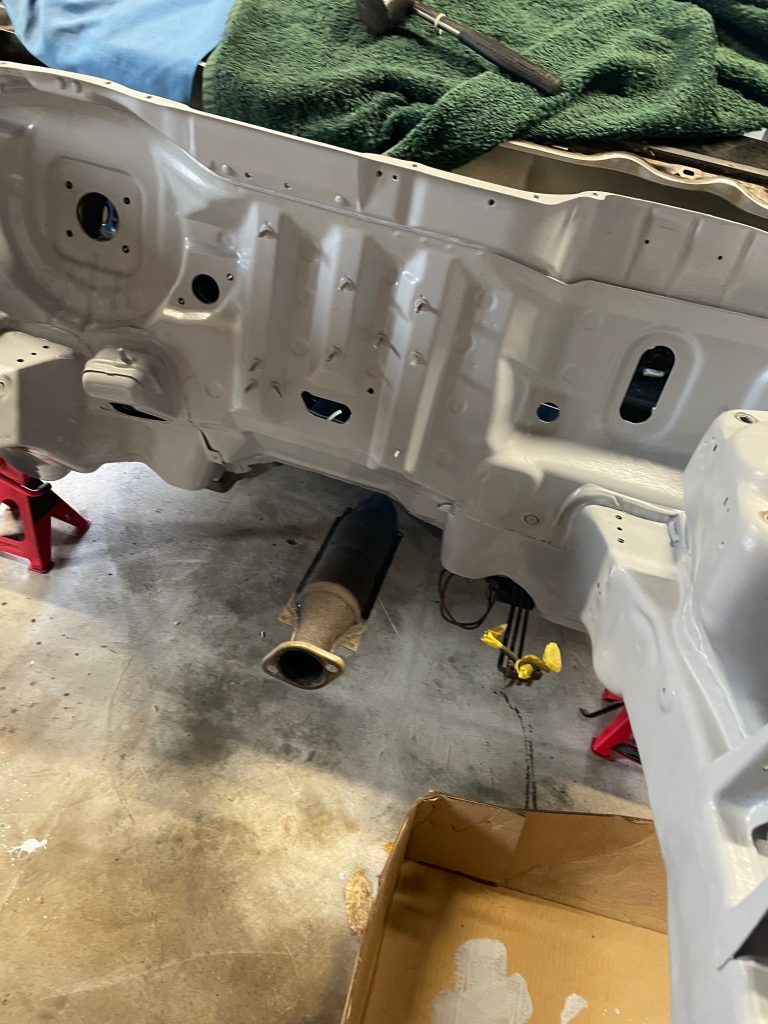
5th October 2025
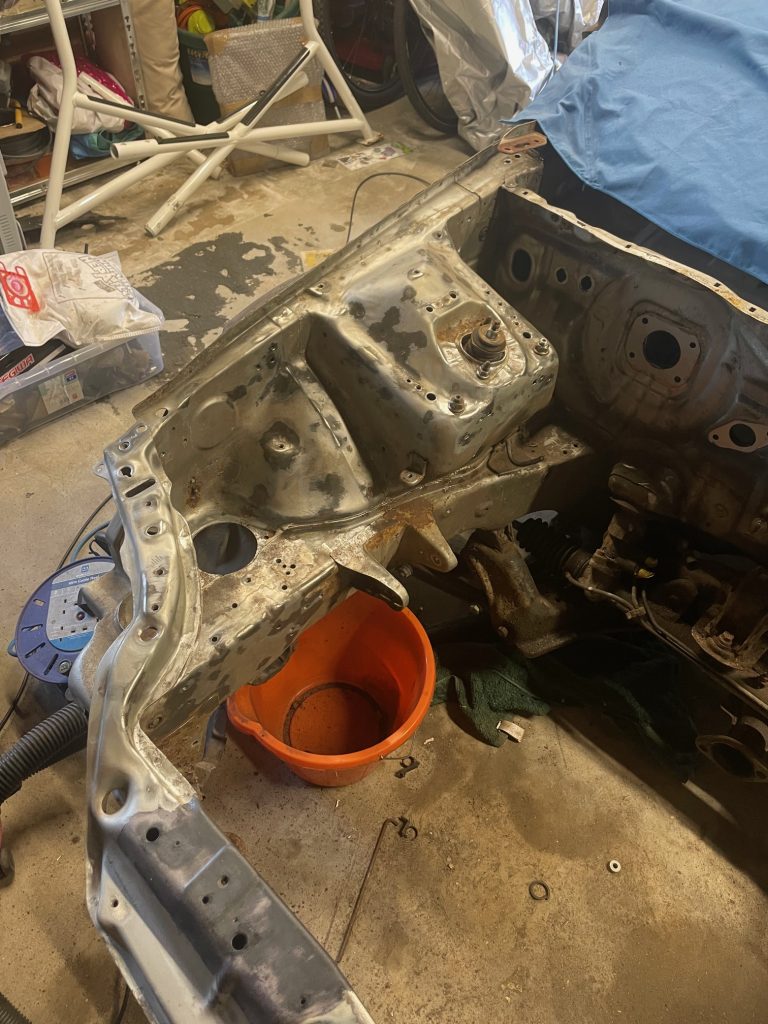
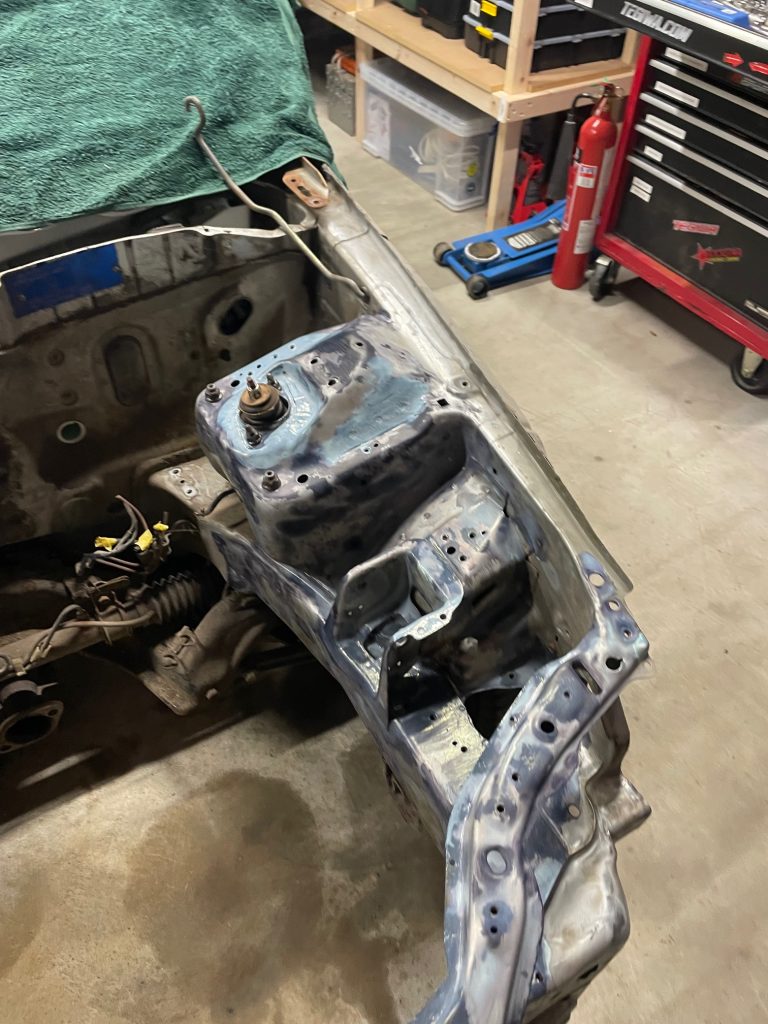
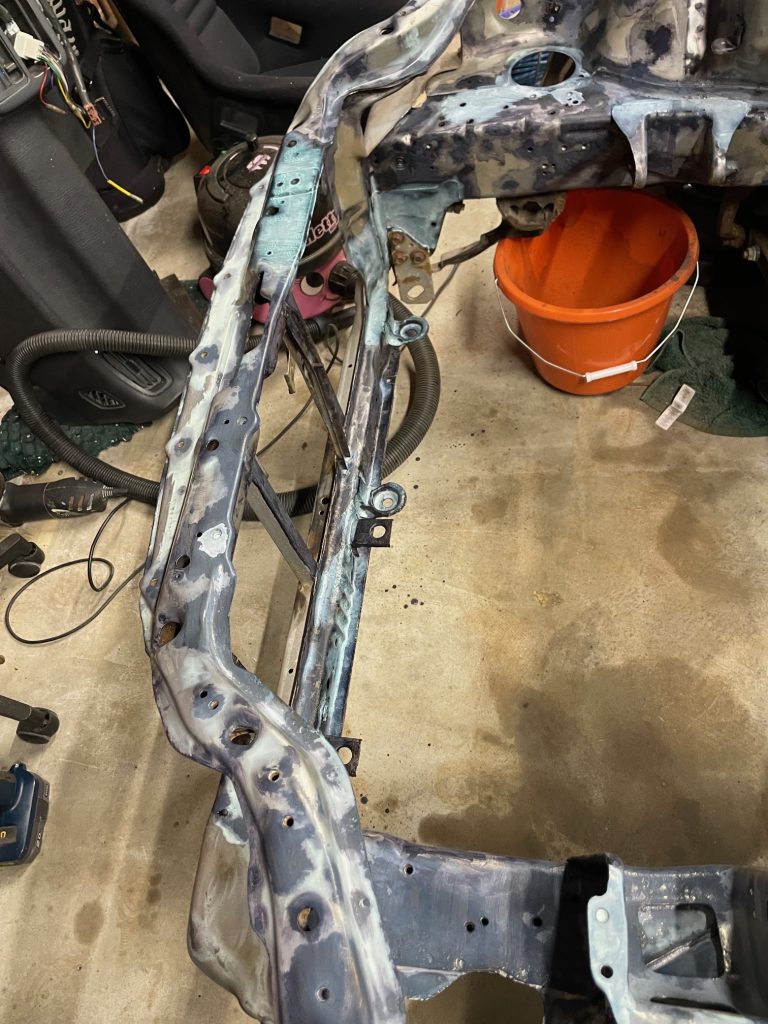
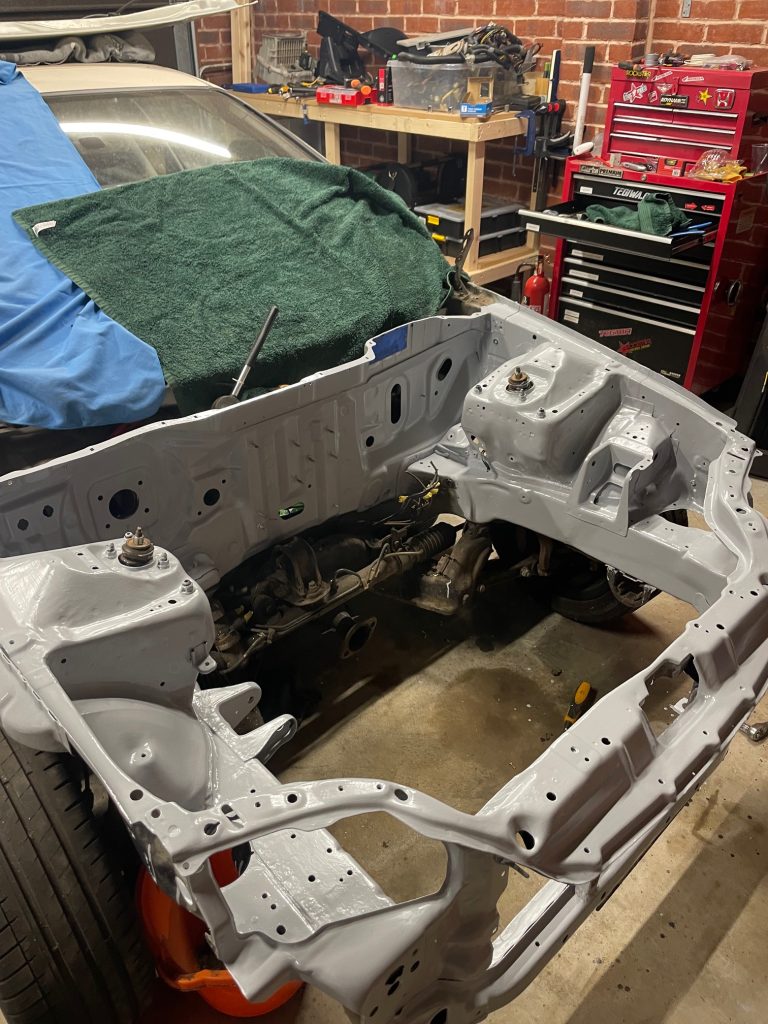
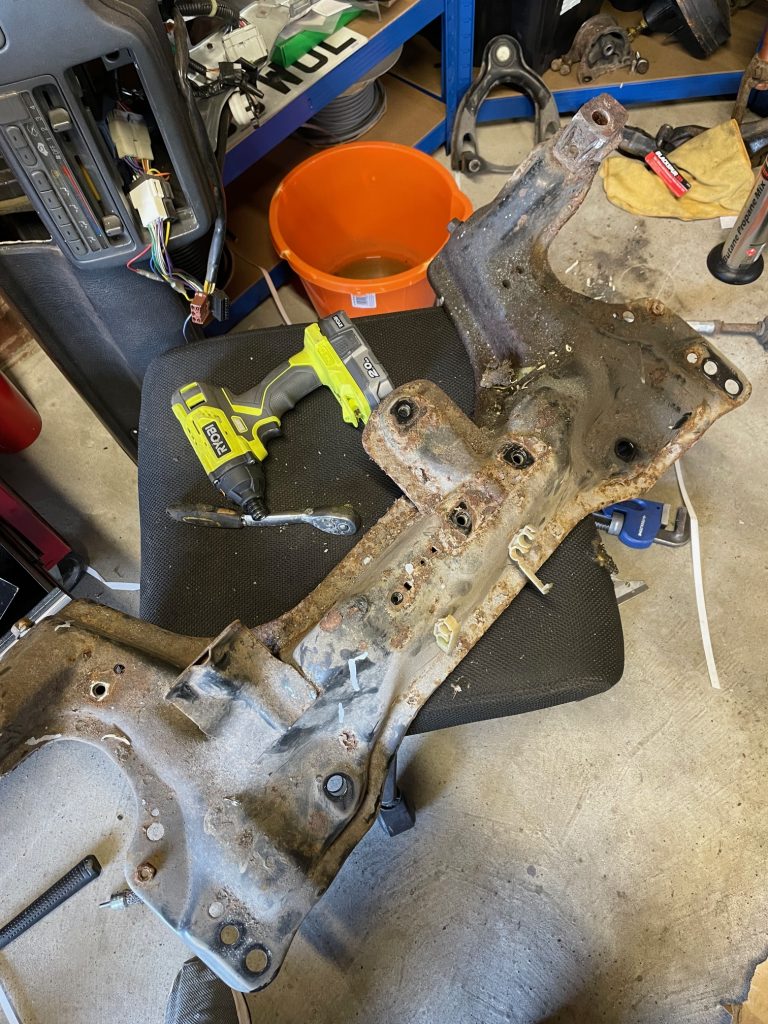
Subframe has now been removed along with all other suspension components, adding the the list of parts which need refreshing. I’ve removed the old airbox mount of the strut tower, and the old engine mount which wont be required going forward. This gave me a chance to finish treating the rust and get remaining areas treated and painted.
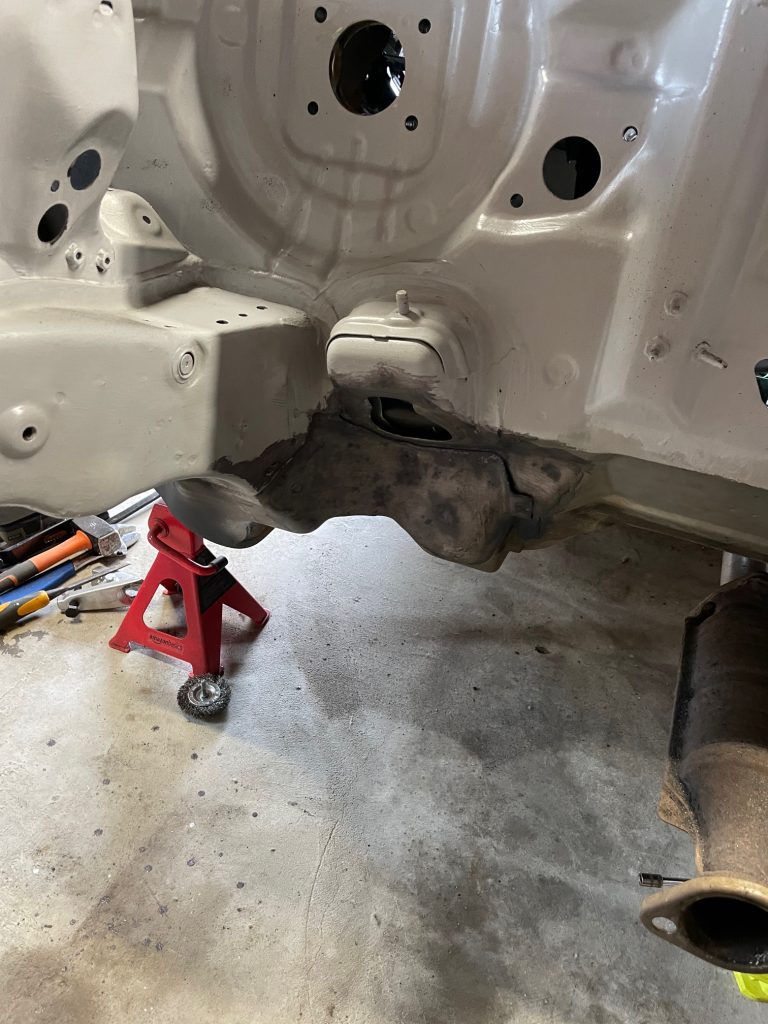
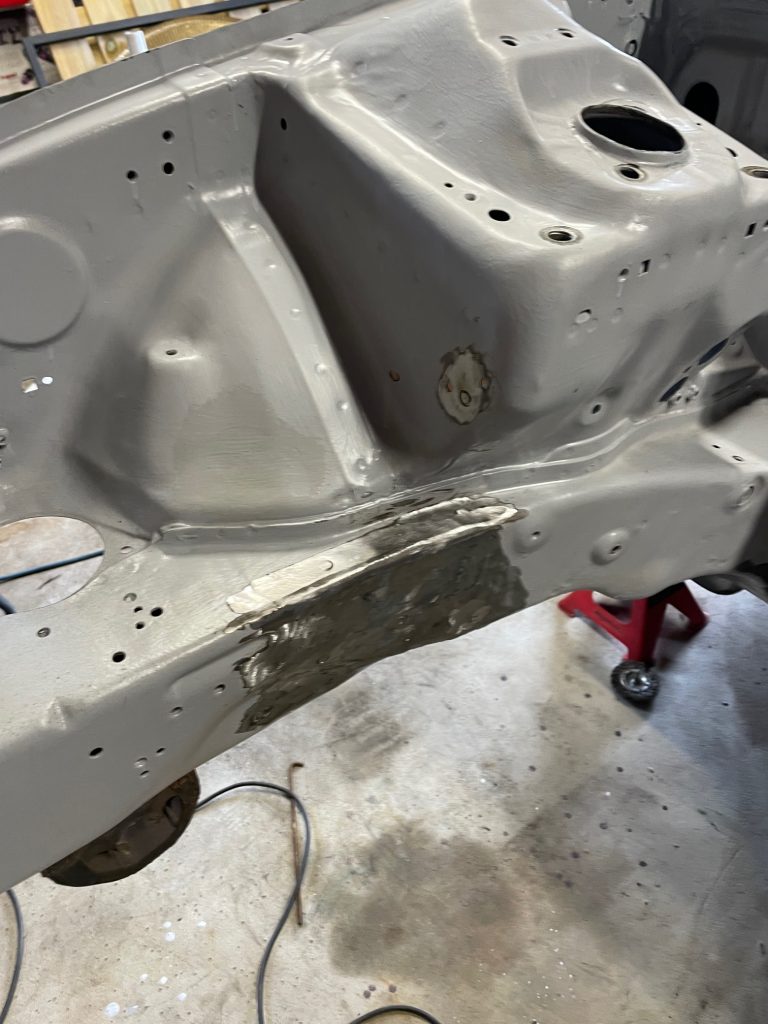
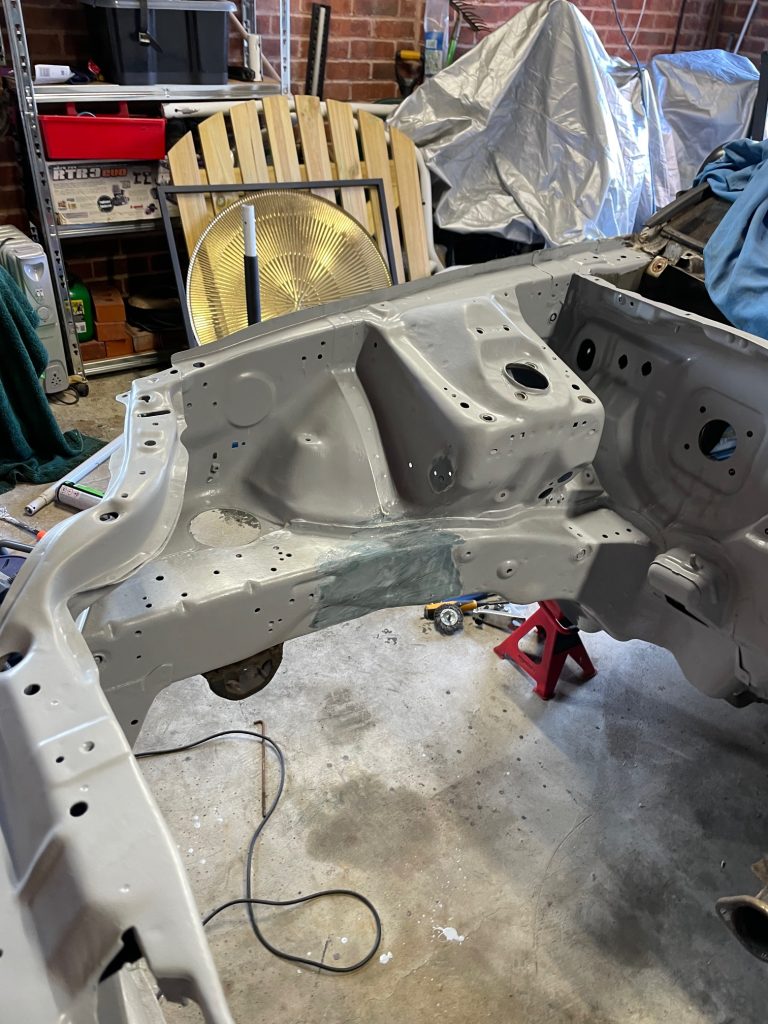
The engine bay is now looking presentable, I’m still rebaiting cutting off the core support and going tubular upper and traction bar / weight plate lower. I can see rust inside the upper part and I know its really tough to get it all dealt with, this may be an upgrade down the line.. Next up will be cleaning up the front wheel wells, and getting the subframe tidied up ready to make the car movable again. I still need to purchase a welder to make progress with the smoothing process.